NOTE: If you are transferring files to/from any data collection system other than Carlson SurvCE, use the C&G Transfer program. See Section 11.08.
Tools Menu:
Data Transfer
11.09 SurvCom Transfer
FUNCTION: The Data Transfer
routine is used to download/upload data from/to your data collector. The SurvCom Transfer option uses the Carlson SurvCom program and is the best choice for communicating with Carlson data collectors running SurvCE data collection. Carlson Software products use the same native file formats as SurvCE, so no file conversion occurs — only transfer.
|
|
NOTE: If you are transferring files to/from any data collection system other than Carlson SurvCE, use the C&G Transfer program. See Section 11.08. |
Before starting SurvCom:
Connect your serial cable to your PC and data collector.
In SurvCE: Select Data Transfer from the File menu. Choose Carlson/C&G Transfer. This leads to a File Transfer screen on SurvCE, which prompts: Awaiting Connection.
All further action takes place on the PC side and there is no time delay in this handshake; SurvCE will wait for the PC program to catch up. When you connect the cable from SurvCE to the PC, Microsoft ActiveSync may interfere and display: Connect to PC? If you get this question, select No and on your PC, disable the Microsoft ActiveSync serial linkage if it is on.
In "Sight" Survey: Activate the SurvCom Transfer option by picking from the Tools menu, or by pressing [Alt][T], [D], [S].
If you get an error such as: Failed to open COM 1 error code -3, the most likely errors are lack of cable connection or interference by Microsoft ActiveSync. An error such as Failed to open COM 1 error code 14 typically means an incorrect COM port setting on the computer. Remedy this error by selecting the Options icon in SurvCOM and resetting the COM port. After clicking [OK], a connection will be attempted.
When the connection is established, SurvCE will display: Connected to PC.
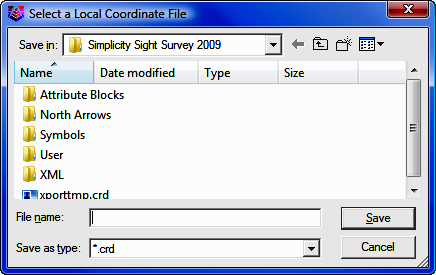
If only the left side of the screen on the PC displays data, then you do not yet have a connection. Press the Connect button located at the bottom left of the file transfer dialog. The transfer program will respond with: Retrieving File List. Once the file list has been retrieved, the left side of the dialog box will show files located in the specified path on the PC, and the right side of the dialog will show the files located in the designated path on the data collector. You can change directories by scrolling to the top of the file list and choosing Up One Level (just like in Windows). In the above dialog, a filter is applied so that only files in the form of *.crd are displayed. Filters such as this can be setup using the Options button.
To transfer one or more files, simply select or highlight the desired files and select the Transfer button. More than one file can be transferred from the remote to the PC or from the PC to the remote during the transfer process. Standard Windows selection options apply. For example, selecting one file and then, while pressing the [Shift] key on the PC, selecting another file deeper on the list, will select all the files in between the first and last selected. You can also select the first file to transfer and press and hold down the [Shift] key and use the down arrow to specify the range of files to transfer. Pressing and holding the [Ctrl] key on the keyboard allows for the selection of multiple files in any selection order, by picking the files with the left mouse button.
After the files have been selected, press the Transfer button. When the transfer is complete, the program will display Transfer Complete and will then proceed to update the file lists on the PC and the data collector.
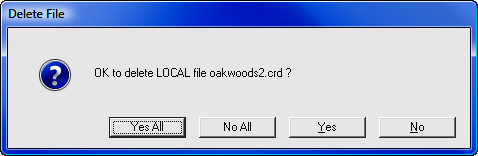
Note: The process of importing points to the data collector mimics the process of exporting points to the office computer, but in reverse. If a point is found to already exist on the data collector, options appear to Overwrite All (Yes All) or Cancel All (No All).
SurvCom Commands
These commands are found and can be seen in the SurvCom dialog box shown above.
|
|
Connect: After selecting Data Transfer from SurvCom's File menu, press this button to connect to the PC. Once connection is made, the status line on the file transfer utility dialog box will show: Connected to the remote machine.
|
|
|
Transfer: Pressing this button transfers selected files from either the Remote to the PC, or the PC to the Remote.
|
|
|
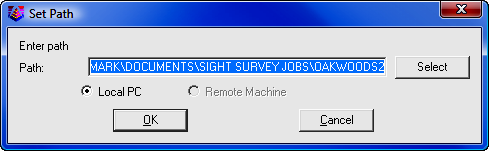
Set Path: This option allows for the specification of the desired source and destination drives and folders for both the PC and the Remote device. For example, if you were downloading, or copying files from the Remote device to the PC, to specify a source path on the remote device, select the Remote Machine toggle and then type in the desired path in the path field. To specify a destination path on the PC, select the Local PC toggle and type in the desired path the path field. When a change to either path is made, the transfer utility will retrieve a new file list from the specified paths.
|
|
|
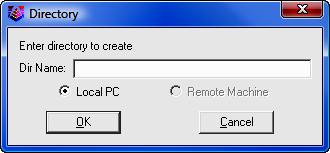
Make Dir: This option allows for creation of directories on both the PC and the Remote device. Specify the machine to create the directory on and then enter the directory name.
|
|
|
Delete: This option allows you to delete the tagged files.
|
|
|
Rename: Select a file and rename it.
|
|
|
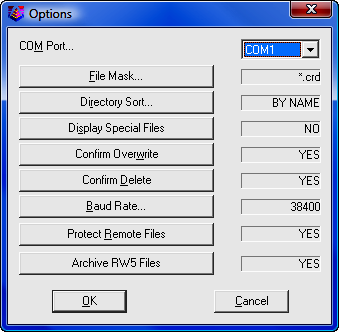
Options: This command allows you to set various options for data transfer. The dialog shown in the figure below will appear.
|
|
|
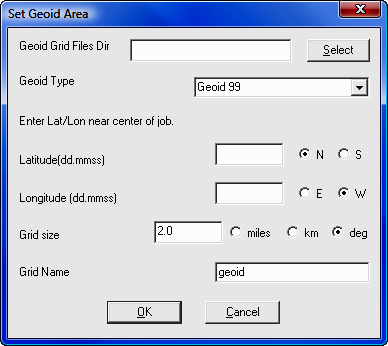
Geoid: This command will carve out a portion of the Geoid 99, EGM96,Canadian CGG2000, Canadian HT2.0, Canadian HT1.01, Australian GDA94 and Great Britain OSG-MO2 grid files and send it to SurvCE. Since these geoid grids are very large, the program carves out a precise portion of it and avoids overloading the memory on the remote device running SurvCE. You will be prompted for the directory (on the PC) of the source Geoid grid file, and the approximate latitude and longitude of the job, and the size of the area desired in miles, kilometers or degrees of latitude and longitude.
|
|
|
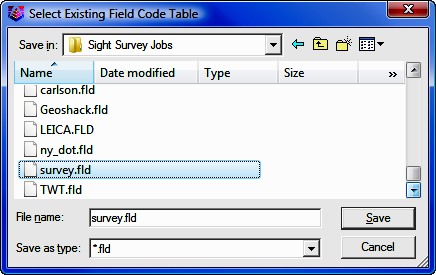
F2F Conversion: This converts the more thorough and detailed Carlson Survey field code file (for field-to-finish work) to the more simplified Feature Code List that runs in SurvCE. The Feature Code List in SurvCE handles Linework (on or off), Line Type (2D or 3D), Layer (= Code) and Full Text (Description). Select the F2F file and click [Send].
|
|
|
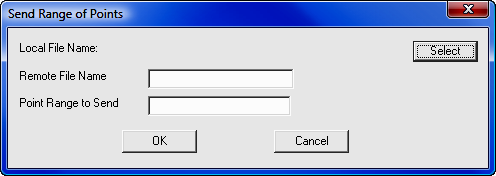
Send Points: The command allows for the sending of a range of points. Start by selecting the Local File Name and the Remote File Name, then specify the points to send.
|
|
|
Exit: This command will exit SurvCom.
|
Additional Options
The following two options appear in the Data Transfer dialog only if detected or available:
Infrared Transfer: This command leads to a send and receive screen that works with the Window Socket IrDA server/client objects only between two CE mobile devices. This is a readily available data transfer program. It works, for example, from Ranger to Ranger. Please make sure you align your devices so that the infrared transceivers are within one meter of each other, and the transceivers are pointing at each other. For an easy connection it is preferable to start first the server (the device that will receive the data file) and after that start the client (the device from which the data file will be sent).
Bluetooth Transfer: If the mobile device has a Bluetooth emulated serial COM port, the user will be able to select it from the list, and transfer data from/to another device that has Bluetooth available.
You've Transferred Files... Now What?
At this point, all you have done is transfer a data file or files. If you have transferred files from the Remote, you still need to import the files into "Sight" Survey. Select File > Import Coordinate File (Section 3.09) to initiate the import operation.