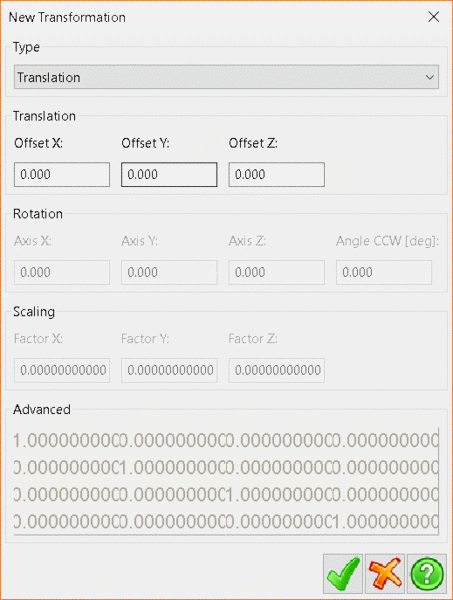
Use the Type drop-down
menu to select one of the four Transformation types:
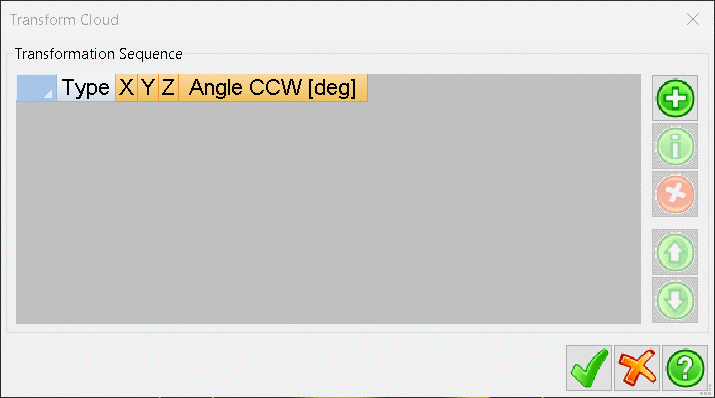
Translate allows the user to define a translation of the current data set by specifying offsets in X, Y and Z.After clicking the check button you should be taken back to the Transform Cloud window. From here you can add more transformations, modify the currently selected one by pressing the Green i button, delete them by pressing the Red X button, or change their order of application to the data using the Green arrow buttons. Press the Green Tick button in the Transform Cloud window to apply the transformations to the selected data.
Rotations allow the user to rotate the current selection set by specifying rotations around the X Y and Z axis.
Scaling allows the user to scale the current selection by a set Factor in the X, Y and Z axis.
Advanced allows the user to specify a transformation matrix to be applied to the data.
