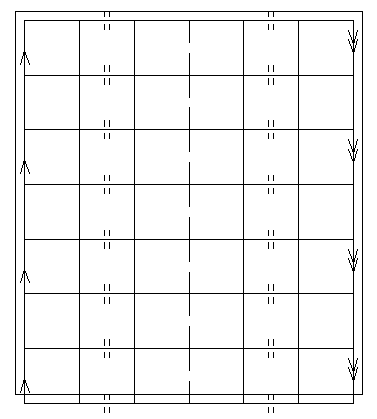
Basic Projections will only produce a rectangular grid of
projections (not angular). The sequencing begins by choosing a
starting point, direction, and distance. Then enter the number of
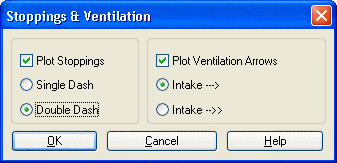
entries and their sizing. After the projection is drawn, stoppings
and ventilation arrows may be added. This routine has fewer prompts
and is more automatic than Advanced Projections. All projection
lines are on distinct layers (PROJECTIONS, PROJSTOPPINGS,
PROJVENTARROWS).
Start pt. of belt entry: pick a point You are
automatically placed in intersect and node snap mode.
<P>ick End Point For Belt or
[A] For Azi/Dist: Enter
Pick end pt. of belt entry:
pick a point
Number of entries on left
side: 3
Number on right side:
3
Entry spacing: 60
Crosscut spacing:
60
Plot Outer Rib Line
y/<n>: Y
Cut Width <20>:
press Enter
Offset to starting rib line (e.g.
-10,0,<10>): press Enter
Offset to ending rib line (e.g.
-10,0,<10>): press Enter
Offset xcuts y/<n>:
press Enter
Pick pt. on xcut for beginning of
stopping line: pick a point
Draw another stopping line
<y>/n: press
Enter
Pick pt. on xcut for beginning of
stopping line: pick a point
Draw another stopping line
<y>/n: N
Pick pt. on entry to begin drawing
ventilation arrows [nea on]: pick a point
Distance between ventilation
arrows: 120
<I>ntake or [R]eturn:
I
Draw ventilation arrows on another
entry <y>/n: Y
Pick pt. on entry to begin drawing
ventilation arrows [nea on]: pick a point
Distance between ventilation
arrows: 120
<I>ntake or [R]eturn:
R
Draw ventilation arrows on another
entry <y>/n: N
Project another panel
<y>/n: N
Pulldown Menu Location: Works
Keyboard Command: panel1
Prerequisite: None