Spoil Placement Timing
This command brings all the spoil commands together as a final step
and performs the timing and scheduling of the spoil placement. The
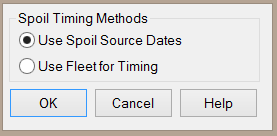
first screen will allow you to choose two options for timing;
either ‘Use Spoil Source Dates’ or ‘Use Fleet for Timing’ (shown
below). These two options will produce very different results, and
should be selected depending on the needs of spoil removal and
placement.
The ‘Spoil Source Dates’ option will move the material to the spoil
area as it is excavated from the pit based on the production
schedule. This option requires a spoil file (.spo) generated from
Surface Equipment Timing. A .spo file generated from Surface Mine
Reserves does not include start and end dates for the pit
excavation, and therefore there are no Spoil Source Dates to be
used.
The ‘Use Fleet for Timing’ option can be used with a .spo file
generated from either Surface Mine Reserves or Surface Equipment
Timing. This option does not consider the production schedule of
the mine, and will instead move the spoil material as quickly as
the haulage fleet will allow. As this option does not
consider the production schedule, in general it will be sensible to
only use a .spo file generated with Surface Mine Reserves with this
option.
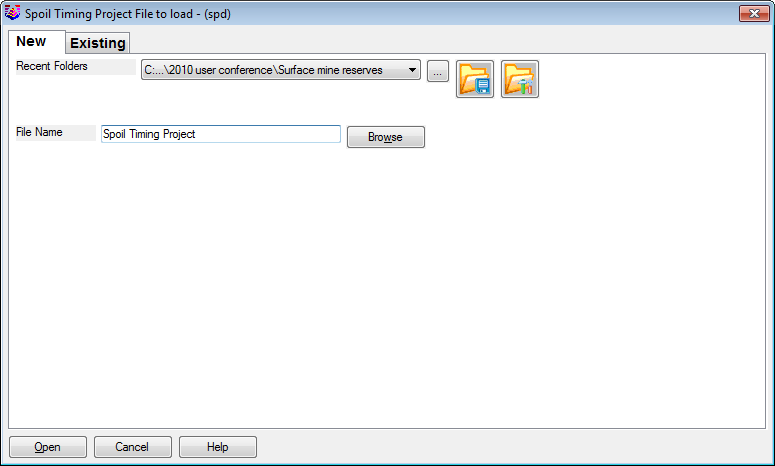
After selecting the timing option, you will be prompted for a Spoil
Timing Project file (.spd). This file stores information concerning
the spoil sources, spoil volumes, start and end dates of
excavation, spoil/pit centroid locations, haul fleet production
capacities, spoil attributes, etc.
After specifying the .spd file, you will be prompted to select the
.spo file.
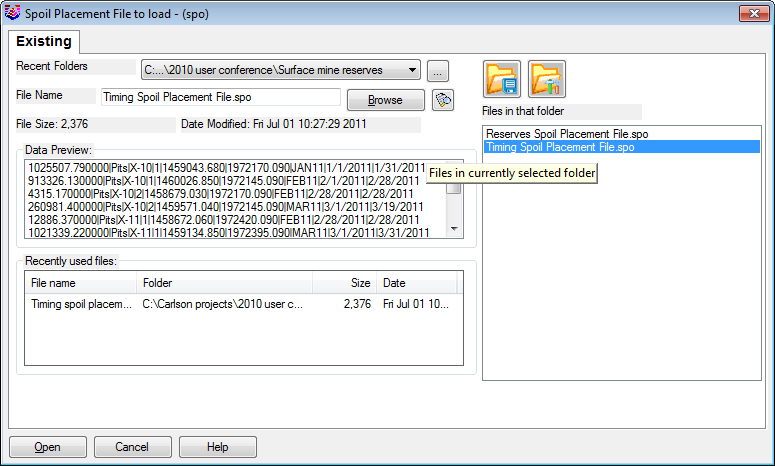
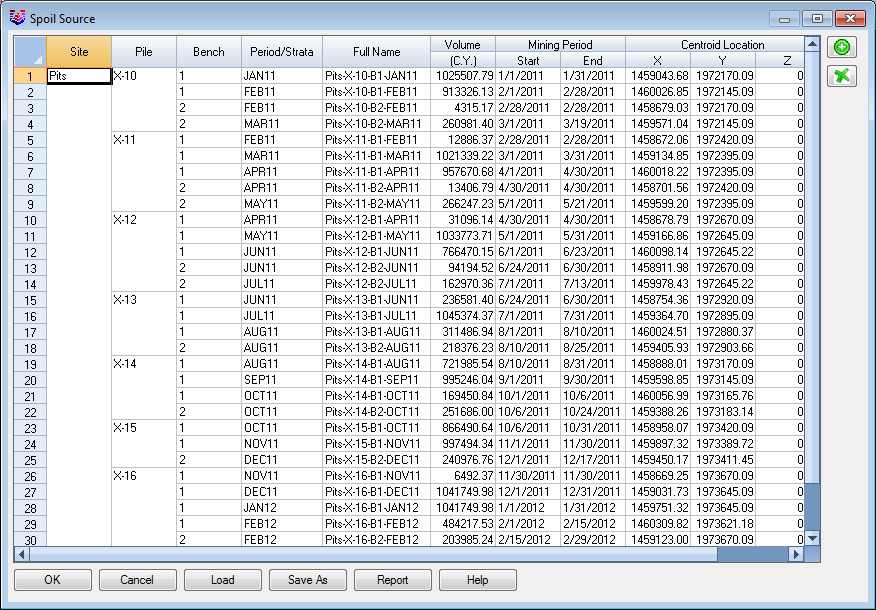
Once the .spo file has been selected, you will see a preview of the
file which can be edited before it is used for the spoil timing.
The preview of the spoil source is shown below.
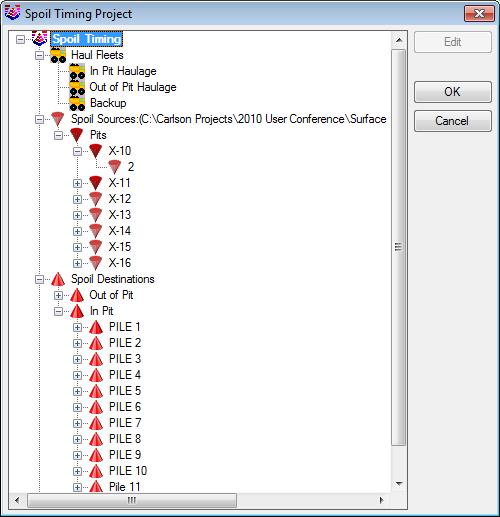
The next dialog shown will be the Spoil Timing Project Manager.
This shows a tree structure of the project, which includes the haul
fleet (if used), the spoil sources, the spoil destinations, and the
spoil attributes. Certain aspects of this dialog can be edited
using the ‘Edit’ button when a field is highlighted. This dialog is
shown below.
After clicking ‘OK’, you will see one of two dialogs, depending on
which timing option you selected. The two options are detailed in
the following two sections.
Use Spoil Source Dates for Timing
Note that this option will not require a haulage fleet to calculate
spoil timing. The Spoil Timing Project Manager will therefore not
include haul fleet information. This dialog is shown below:
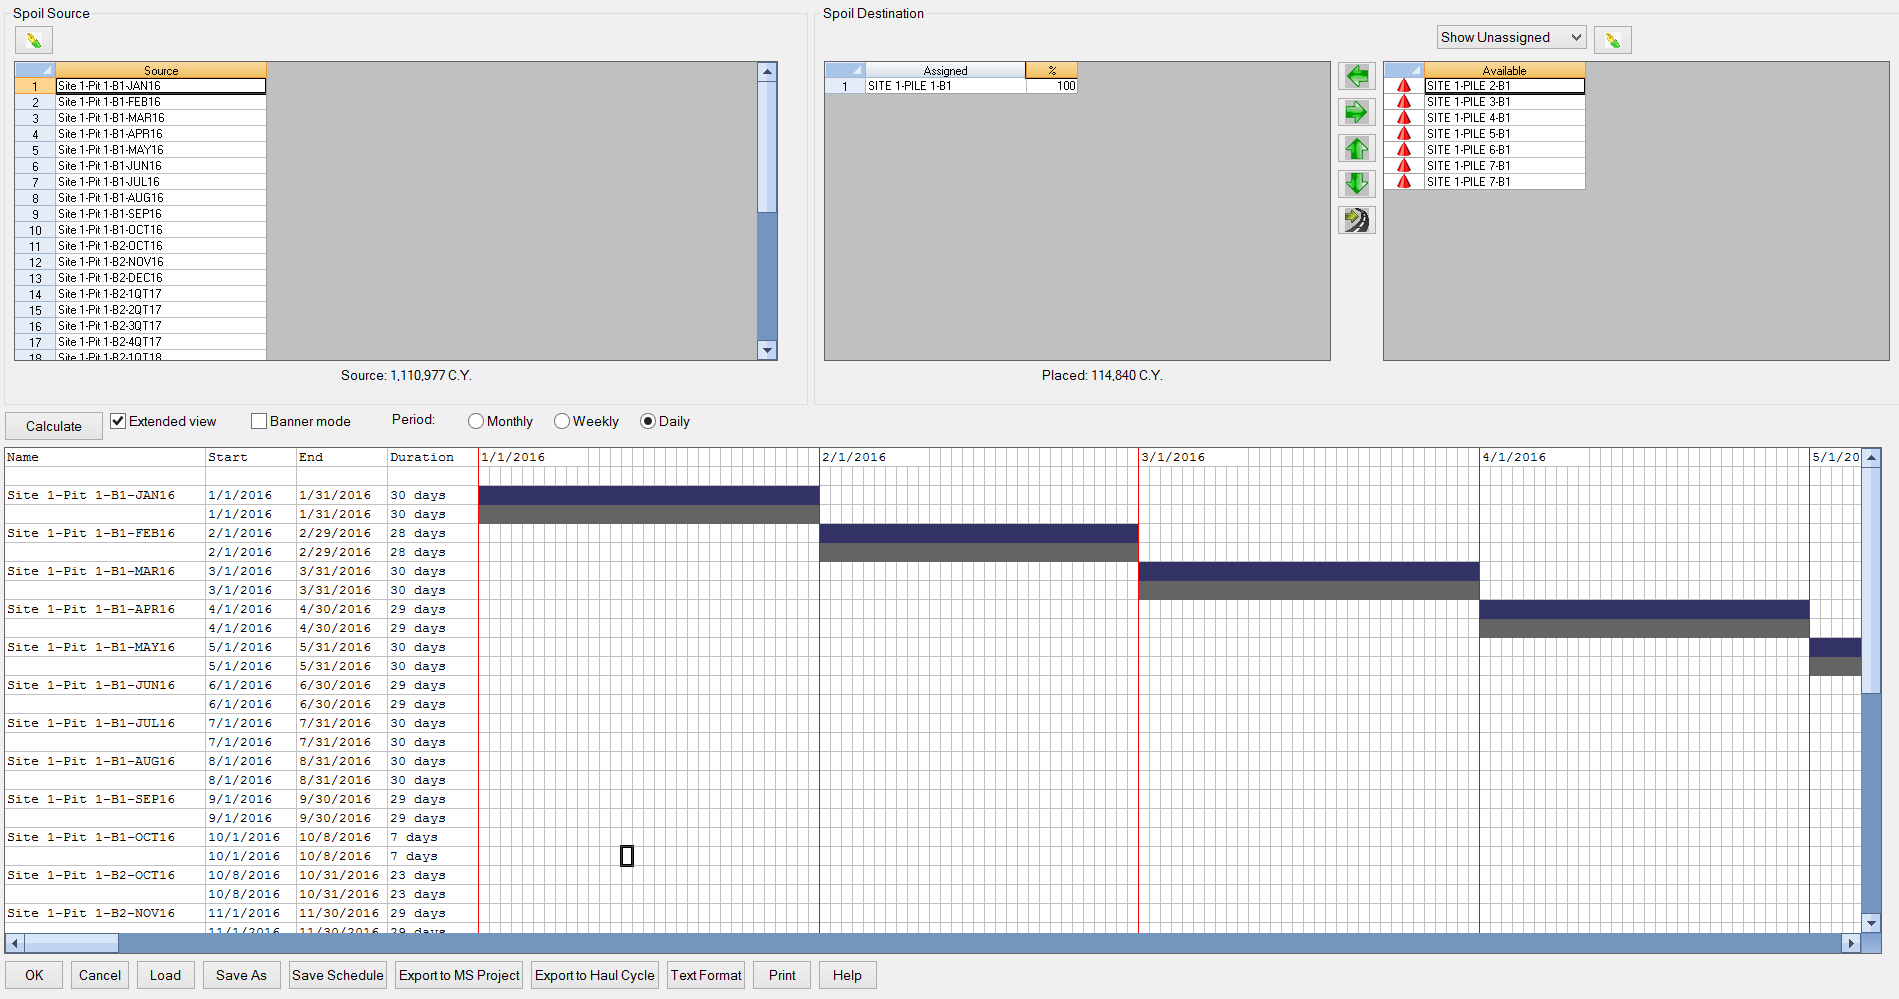
This dialog consists of list of spoil sources by time period, a
list of assigned and available spoil destinations, and a Gantt
chart which shows the timing of the spoil placement.
The spoil source list shows the time period in which the spoil
material will be available for placement. Note that there are no
options to select or deselect the spoil sources to be used for
spoil timing, as this information is read directly from the .spo
file; all spoil from the mine pits must be used for timing
calculation.
The assigned and available lists shows the spoil destinations that
can be used for timing. Spoil destinations can be moved between the
available and assigned lists by using the left/right arrows between
the two lists. The up/down arrows between the lists controls the
order in which the spoil areas will be filled. The arrow-and-road
icon will automatically assign spoil destinations based on the
shortest haul distance between the spoil source and the spoil
destination. This command requires you to have selected the haul
roads using the Haul Road Manager command.
The assigned list also shows the fill percentage of each spoil
pile. Note that each spoil pile will be filled to capacity before
spoil is placed in the next pile. Both the spoil source and spoil
destination information can be directly edited by clicking the
green pen icons above each list. The total amount of spoil to be
moved is listed under the spoil source list. The total amount of
spoil that has been assigned to a spoil destination is listed under
the assigned list.
The bottom section of the dialog shows a Gantt chart of the spoil
placement timing. The use of Gantt charts are discussed in the
Surface Equipment Timing section of the help manual. Clicking
‘Calculate’ will determine the final timing of the spoil placement.
As the dialogs shown after clicking ‘Calculate’ are the same for
both the ‘Use Spoil Source Dates for Timing’ and the ‘Use Fleet for
Timing’ options, discussion of the output is discussed in the Spoil
Calculation Output section of this page. One item that is specific
to Gantt charts in the Spoil Timing dialog is the Export to Haul
Cycle option. This option exports a .sph file which can be used
with the Haul Cycle Analysis command to calculate a more detailed
report of the timing associated with spoil placement.
You may also save and load the spoil timing assignments in a Spoil
Assigment file (.stm)
Use Fleet for Timing Option
Note that this option will require a haulage fleet for timing. With
this option, you may create multiple haulage fleets, which can be
assigned to various spoil sources and destinations for timing.
The Spoil Placement Timing dialog for this option will appear as
shown below.
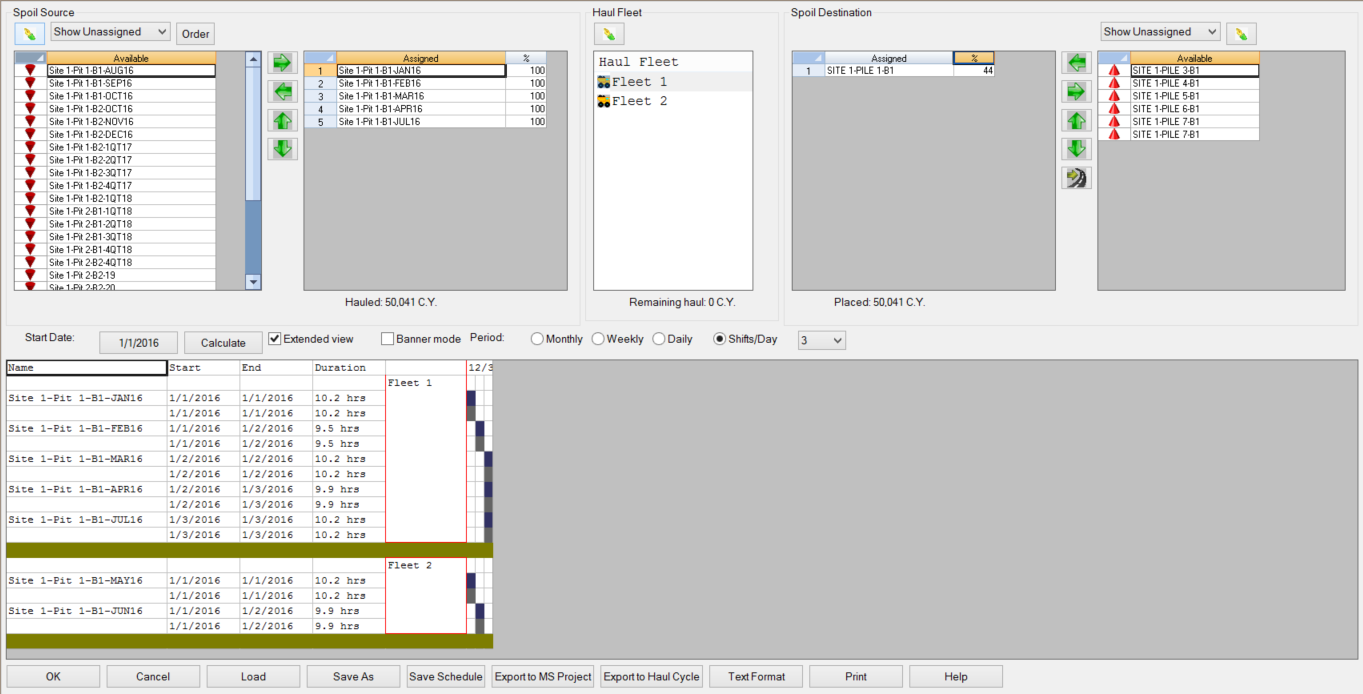
Unlike the dialog shown for the ‘Use Spoil Source Dates for Timing’
option, this dialog allows you to use only specified spoil sources
for timing. Aside from this difference, the two dialogs are similar
in functionality. Spoil sources and destinations can be moved
between the assigned and available lists and reordered using the
green arrows between the lists. This dialog also shows a new list
of the haul fleets that can be used. Selecting a haul fleet will
list the spoil sources and destinations that are assigned to that
fleet. Another additional feature to this dialog is that you can
specify a start date for the spoil timing.
Spoil Calculation Output
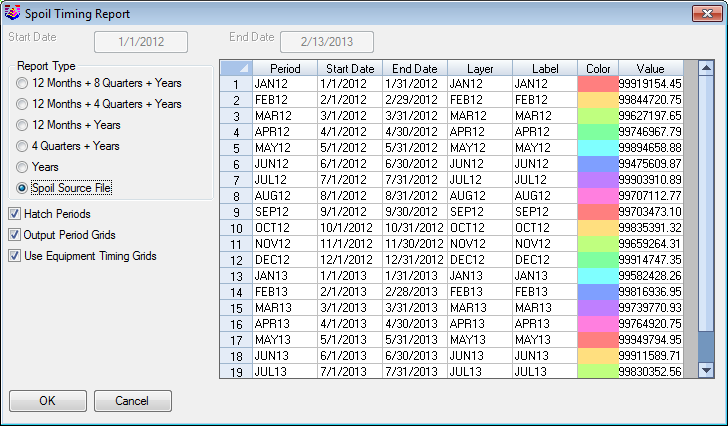
After clicking the ‘Calculate’ button, you will see the dialog
shown below. This allows you to set the type and appearance of the
text and timing report.
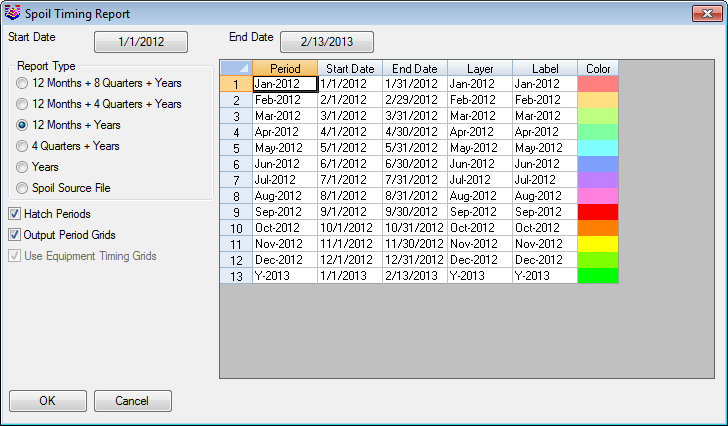
The Report Type will set the time periods for the timing report.
The spreadsheet will be automatically updated based on the selected
report type. The Layer, Label, and Color columns may be manually
updated, but the Period, Start Date, and End Date columns are
fixed. If the Spoil Source File report type is selected, the
periods will be set by the .spo file created in Surface Equipment
Timing. This option will also enable the Use Equipment Timing Grids
option, which will merge the spoil timing output grids with a .gsq
file created from the Surface Equipment Timing command (shown
below).
- Hatch Periods: This option will allow you to hatch the
time periods with a solid fill color. If this option is turned off,
the timing map will only show outlines and labels of the timing
periods.
- Output Period Grids: This option will output grid files
representing the surface at various time periods. These grids can
be used to review the development of the mine area.
- Use Equipment Timing Grids: This option will merge the
grid files created with the Output Period Grids option with a .gsq
file created from Surface Equipment Timing. This can be used for
detailed review of the surface development, showing the timing and
locations of material movement.
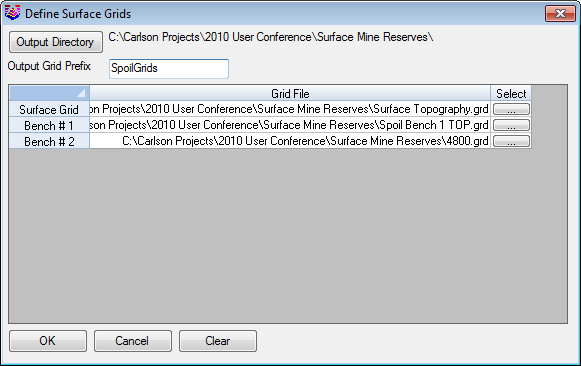
If you use the Output Period Grids option, you will see the Define
Surface Grids dialog after clicking OK (shown below). This dialog
allows you to set the surfaces which define the existing ground and
bench surfaces of the spoil piles.
If you use the Use Equipment Timing Grids option, you will be
prompted to select a .gsq file to update. Note that you must have
an existing .gsq file for this option. This command will merge the
output surface grids with the .gsq file at the respective time
periods, which can be saved as a new .gsq file. This will represent
the full mining progression, showing the advance of the pits, and
the following of the spoil and dumps.
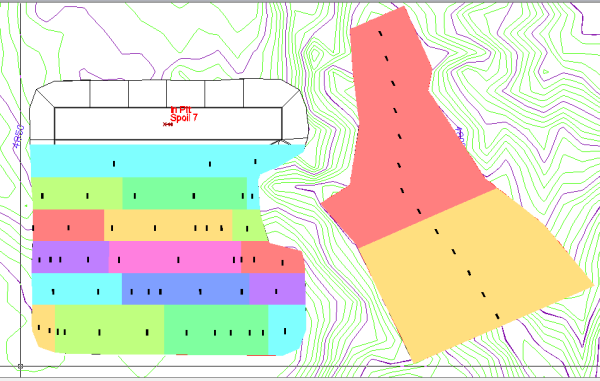
Example
The below plan view map is hatched with the color period blocks to
illustrate where each spoil is placed in each period.
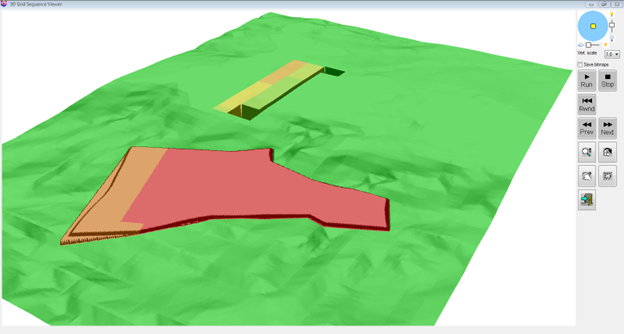
Viewing the new .gsq file with the View 3D Surface History command
will show the mining progression with the spoil fills.
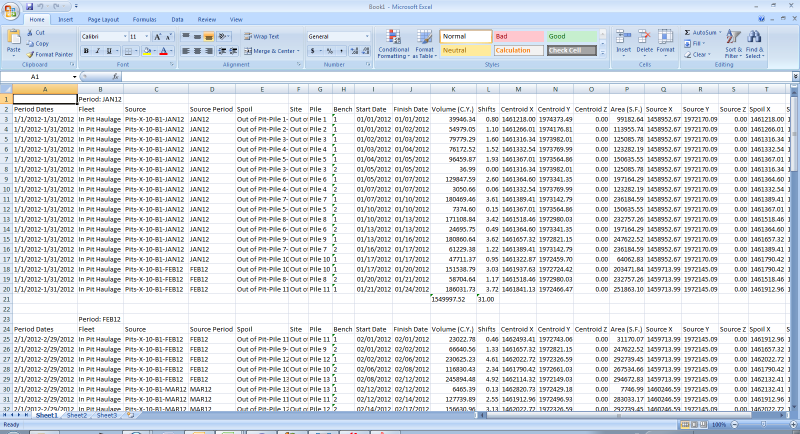
Using the Report Formatter can export the report directly into
Excel. An example Excel dump is shown here.
Keyboard Command: timespoil
Prerequisite: SPO file from Surface Mine Reserves or Surface
Equipment Timing, spoil polylines with direction, and haulage
fleet.
Pulldown Menu Location: Spoil in Surface Mine Module