Draw Trench Network (Profile)
This command allows you to draw a branch of the trench network
structure as a sewer/pipe profile. There has to be a trench network
structure that has been created beforehand and its data is store in
a .sew file whose name is as same as the drawing name, otherwise
you would get an error message like "Error: no data in sewer
network file". The command first prompts you the Draw Sewer Network
Dialog. Select the Upstream and Downstream Struct that you want to
draw. If you want to draw the existing and final design surface, as
well as Strata Surfaces, toggle on Draw Existing Ground Surface,
Draw Final Design Surface, and Draw Strata Surfaces options. If
your profile is from upstream to downstream, then select the
Profile Direction as Downstream, otherwise Upstream. You can also
choose to save the profile data to a profile file. Click OK to
draw.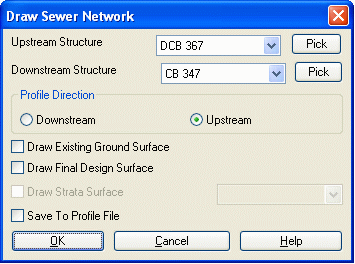 Initializing Draw Profile command ...
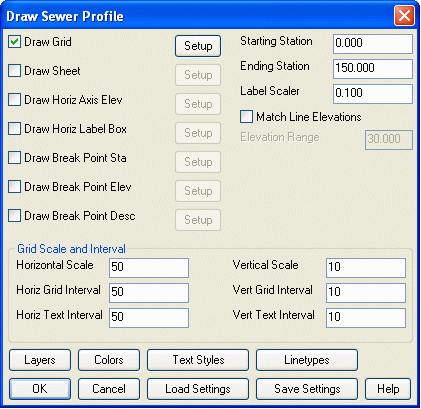
Draw Sewer Profile Dialog Enter drawing parameters such as
Grid scale, text scaler, starting and ending stations etc. for
drawing the sewer profile.
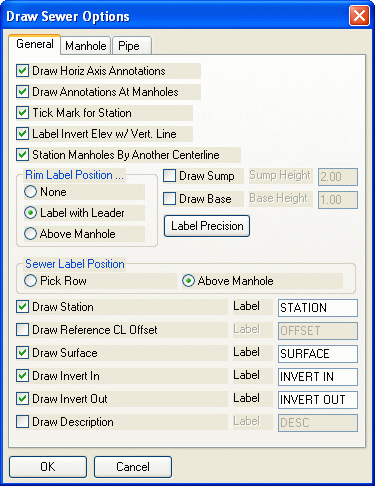
 Enter general sewer
profile settings such as elevations (Rim, Invert-In, Invert-Out) to
draw and label.
Enter general sewer
profile settings such as elevations (Rim, Invert-In, Invert-Out) to
draw and label.
 Use the Manhole tab to define what
manhole information is labeled in your trench profile.
Use the Manhole tab to define what
manhole information is labeled in your trench profile.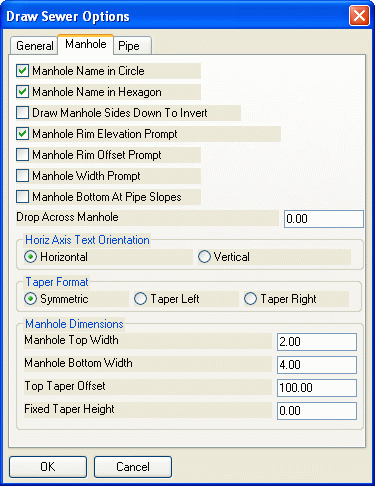 Use the
Pipe tab to define what piping information is labeled in your
trench profile.
Use the
Pipe tab to define what piping information is labeled in your
trench profile.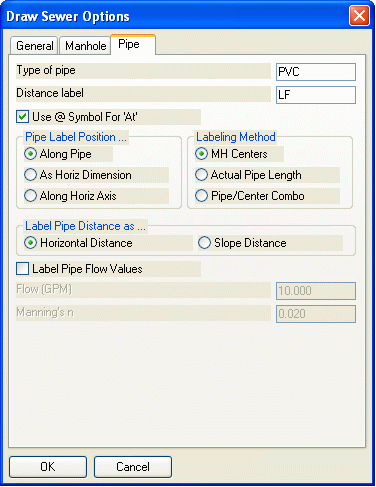 The command will find the elevation
range of your profile and display it at the top of this dialog.
Here you can set the elevation top and bottom of the profile's
grid.
The command will find the elevation
range of your profile and display it at the top of this dialog.
Here you can set the elevation top and bottom of the profile's
grid.
Prerequisite: Your drawing is open, has been cleaned up and
pre-processed by such commands as Define Layer Target, Set Boundary
Polyline, Make Existing Ground Surface and Make Design Surface.
Trench structure data has been stored in a .sew file, whose name is
as same as the drawing name.
Keyboard Command:
profile_trench